Thymeleaf와 같은 템플릿 엔진 기능 없이 SpringBoot를 API 서버로만 활용하고 React와 같은 별도의 애플리케이션을 통해 UI를 제공할 수 있다. 백엔드와 프런트엔드 기술스택을 각각 SpringBoot와 React로 결정했을 때 이 둘을 어떻게 연결하는지 간단한 예시코드로 살펴본다.
1. Spring Boot project 생성
- 프로젝트 의존성
스프링 스타터 (https://start.spring.io/) 를 통해 Spring 프로젝트를 생성한다.
Spring과 React의 연결방법을 살펴보는 것이기 때문에 아래와 같이 web과 lombok만 의존성으로 추가하였다.
dependencies {
	implementation 'org.springframework.boot:spring-boot-starter-web'
	compileOnly 'org.projectlombok:lombok'
	annotationProcessor 'org.projectlombok:lombok'
	testImplementation 'org.springframework.boot:spring-boot-starter-test'
	testRuntimeOnly 'org.junit.platform:junit-platform-launcher'
}
- REST API
다음처럼 현재 시간을 제공하는 API를 추가한다.
@RestController
@RequestMapping("/api")
public class ApiController {

    /**
     * 서버시간을 제공해주는 API
     */
    @GetMapping("/server/time")
    public String serverTime() {
        log.info("serverTime");
        return LocalDateTime.now().toString();
    }
}
2. React 프로젝트 생성
- Node.js 설치 및 React App
JavaScript로 구성된 React를 실행하기 위해서는 JavaScript 엔진인 Node.js가 필요하다.
공식 홈페이지( https://nodejs.org/ko/)에서 다운로드 가능하며, nvm을 활용하면 개발 상황에 맞는 node.js 버전을 손쉽게 사용할 수 있다.
Node.js 설치완료 후 React 프로젝트를 만들 경로로 이동해 다음의 명령어를 실행하여 앱을 설치한다.
(현재 'create-react-app'의 지원은 종료되었고 공식 사이트에서도 vite, parcel 또는 rsbuild와 같은 빌드 툴 사용을 권장한다.)
npm create vite@latest react-ui -- --template react
-- --template react 옵션 없이 vite@latest 빌드를 수행하면 다음 이미지처럼 원하는 템플릿을 선택할 수 있다.


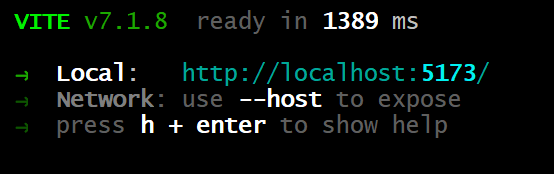
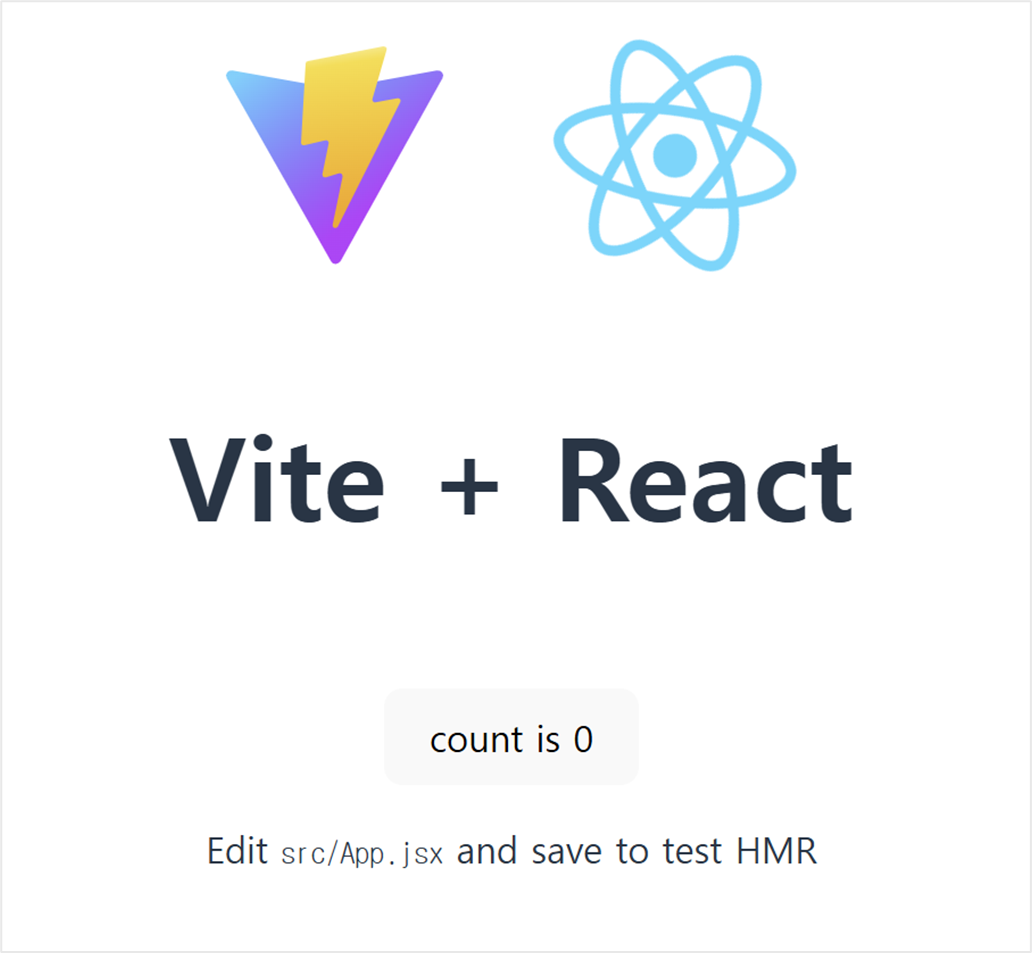
설치가 다 끝나면 다음 화면과 함께 http://localhost:5173/ 에 접근 가능하다. (이후 설정을 통해 http://localhost:3000으로 수정)
Ctrl + C를 누르면 App은 종료되며 app의 home 경로에서 'npm run dev' 명령어를 수행하면 실행시킬 수 있다.
- Spring Boot의 REST API 호출
React app에서 앞에서 만든 REST API를 정상적으로 호출할 수 있도록 proxy 설정을 한다.
수정된 설정 파일(vite.config.js)은 다음과 같다.
import { defineConfig } from 'vite'
import react from '@vitejs/plugin-react'

// https://vite.dev/config/
export default defineConfig({
  plugins: [react()],
  server: {
    port: 3000,
    proxy: {
      '/api': {
        target: 'http://localhost:8080',
        changeOrigin: true,
      }
    }
  }
})
추가한 proxy 설정 덕분에 HTTP 통신 시 path가 '/api'로 시작하면 'http://localhost:8080' 서버로 요청을 보내 백엔드 데이터를 가져올 수 있다. 이때, changeOrigin 옵션을 true로 설정하여 React App에서 CORS 에러를 방지한다.

| - | 요청 헤더 | - | |
| changeOrigin | Host | Origin | note |
| false | http://localhost:3000 | http://localhost:3000 | 원래 출발지 그대로 |
| true | http://localhost:8080 | http://localhost:8080 | 타겟 서버로 변경 |
이제 서버 API 결과를 확인하기 위해 ~/src/App.jsx 를 다음과 같이 수정한다.
import { useState, useEffect } from 'react'
...

function App() {
  const [count, setCount] = useState(0)
  const [serverTime, setServerTime] = useState('')

  useEffect(() => {
    const fetchTime = () => {
      fetch('/api/server/time')
        .then(response => response.text())
        .then(time => {
          setServerTime(time);
        });
    };

    fetchTime(); // 초기 실행
    const interval = setInterval(fetchTime, 1000); // 1초마다 실행

    return () => clearInterval(interval); // cleanup
  }, [])

  return (
    <>
      <div>
        <label>current server time - {serverTime}</label>
      </div>
      <div>
        <a href="https://vite.dev" target="_blank">
          <img src={viteLogo} className="logo" alt="Vite logo" />
        </a>
        <a href="https://react.dev" target="_blank">
          <img src={reactLogo} className="logo react" alt="React logo" />
        </a>
      </div>
      ...
    </>
  )
}

export default App
react의 useEffect를 사용해 1초마다 /api/server/time API 를 호출하여 그 결과를 보여준다.

Sample Code
https://github.com/JaewookMun/programming-exercise/tree/main/react/spring-react
programming-exercise/react/spring-react at main · JaewookMun/programming-exercise
practice framework or skill such as spring, jpa, and so on - JaewookMun/programming-exercise
github.com
References
- CRUD Application With React and Spring Boot - https://www.baeldung.com/spring-boot-react-crud
- 처음부터 React 앱 만들기 - https://ko.react.dev/learn/build-a-react-app-from-scratch
- Create React App 지원 종료 - https://ko.react.dev/blog/2025/02/14/sunsetting-create-react-app